Showing posts with label ISO. Show all posts

Monday, January 2, 2012

Trying out Fireworks Shooting

Happy New Year!!!

And we celebrate new year with fireworks.
After reading tips on how to photography fireworks from a website, took my cam and dusted tripod, joined some friends of mine at Desa Parkcity for some awesome fireworks performance during New Year Eve.

Travelling around the venue, we've spotted the forbidden area where the fireworks will be launched. So for sure, the best view spot would be directly facing the launching site, where the area was already full with people waiting for the countdown.

Not much choice left, so we choosed a slope beside a lamp post, which is a VERY BIG MISTAKE. But then, what choice do I have?
So with a little bit of test drive, tried to avoid the lamp post in my framing, but still, the flare from the light still appears in most of my photo.
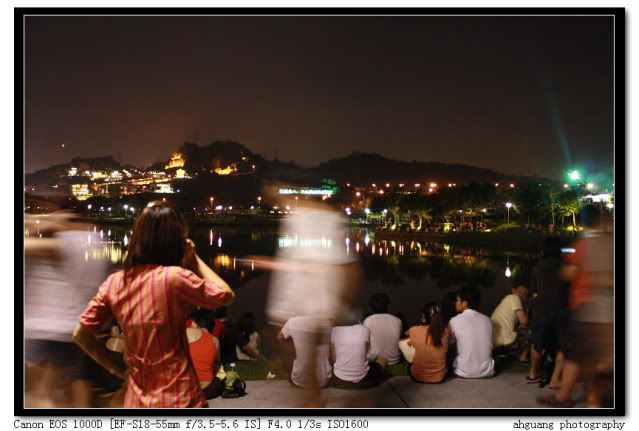
Photobucket Framing using portrait style is good, with the lake included, despite all those idiots walking around.
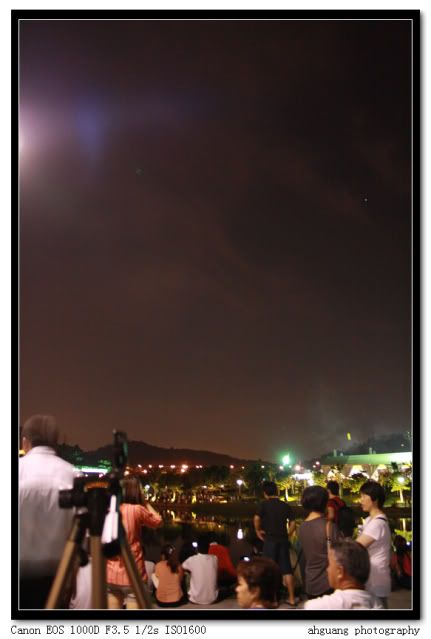
Photobucket

So the fireworks begun.
At first I forgot about my ISO setting, which is at ISO1600. Noise, and too overly exposed.
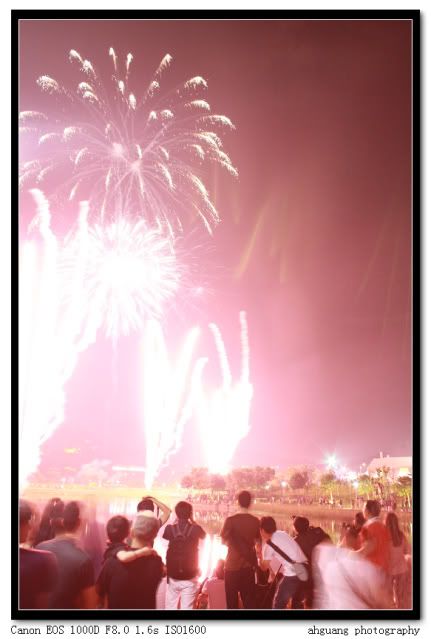
Photobucket

Tried using ISO100, too dark.
Photobucket
Fireworks do not look nice too if shoot using long exposure time.
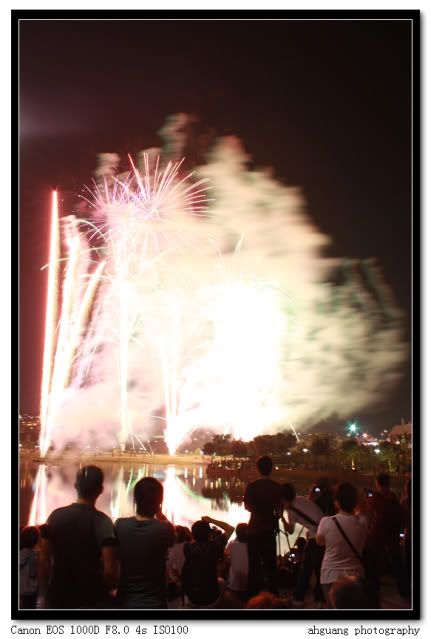
Photobucket
Darn those heads below... hahaa..

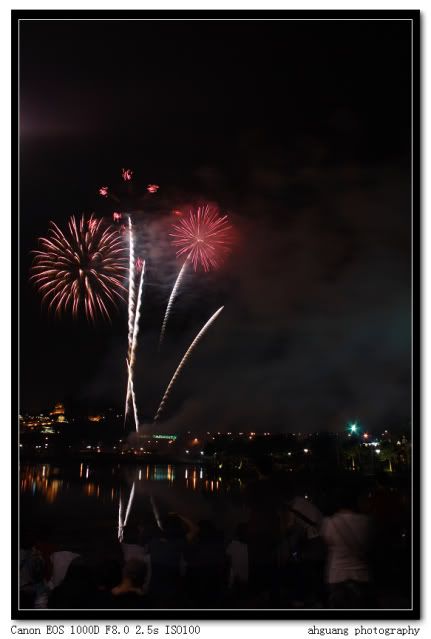
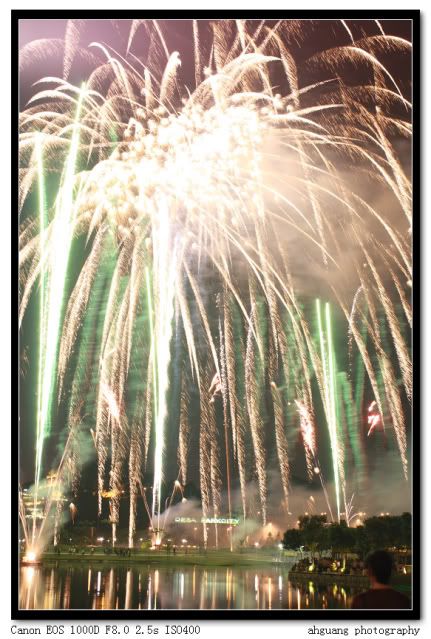
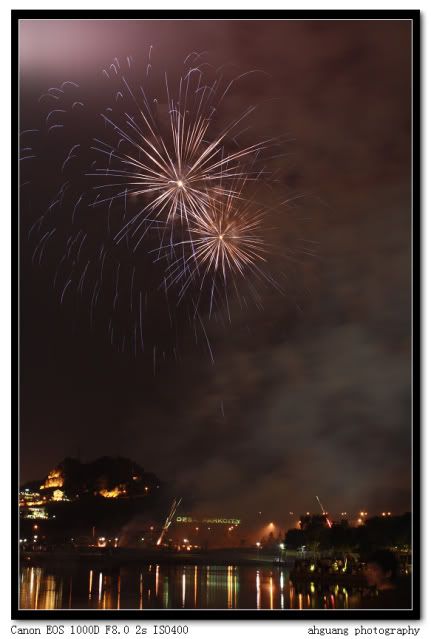
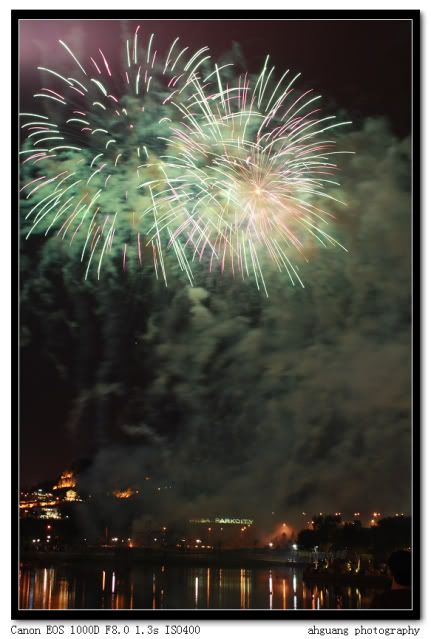
Then I was satisfied with ISO400. Exposure time can be set between 1s-4s, with photo properly exposed and complete fireworks.
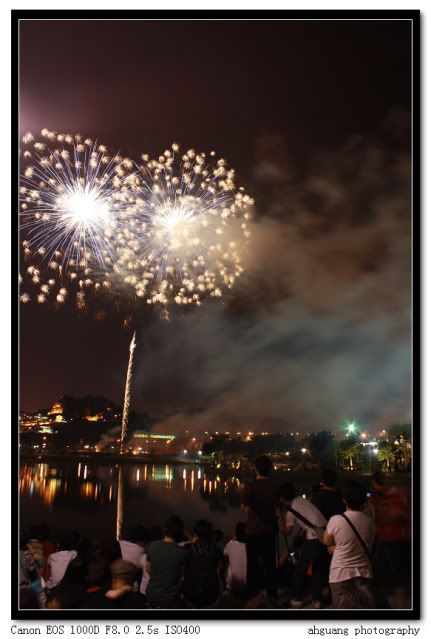
Photobucket
Photobucket
Photobucket
Photobucket
Still, sometimes i was lost in the rhythm of the fireworks (I was using 2s timer to reduce effect of shutter pressing).

Main problem will be the smokes produced by intensely shooting fireworks until it affected the fireworks.
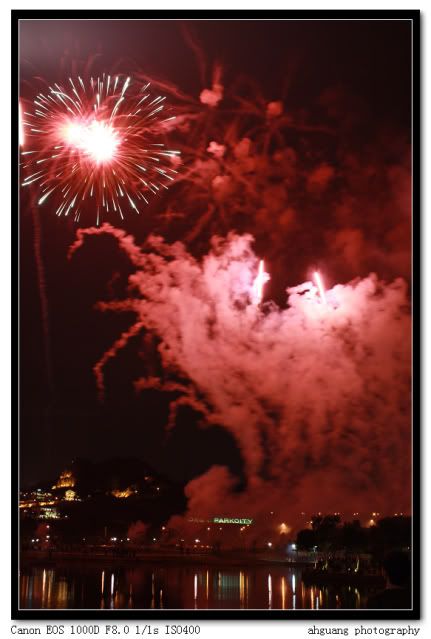
Photobucket

Then, the intensely fireworks also do not look nice in my shooting. Wonder why is that..
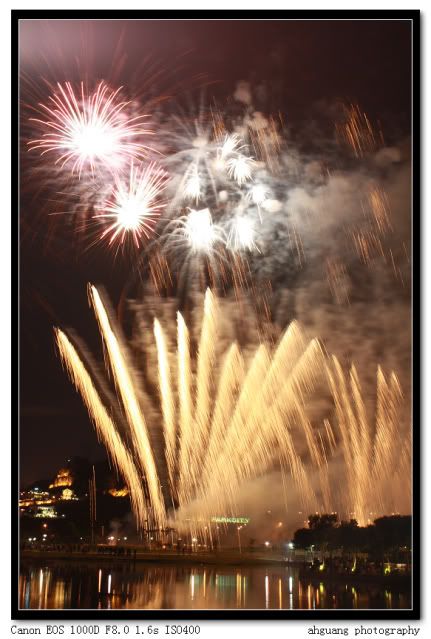
Photobucket
Probably it's because I lost the MOMENT!!! >>>which is failure to follow the rhythm of the fireworks..

In later stage I was already thinking, what the hell. Just let it shoot, I'll just keep pressing the shutter and let me enjoy the show.
And so the tips is, just let the camera there, click it, let it shoot while you enjoy the live fireworks. Hahaha..
I like this out of all shots. Fireworks fall like meteorites falling from the sky.
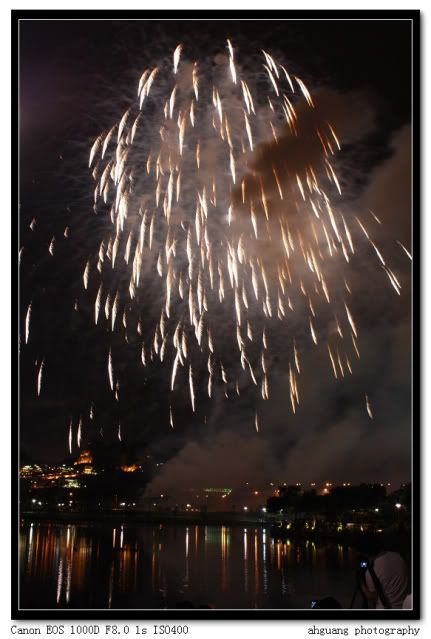
Photobucket


One of my favourite shot of the day too:
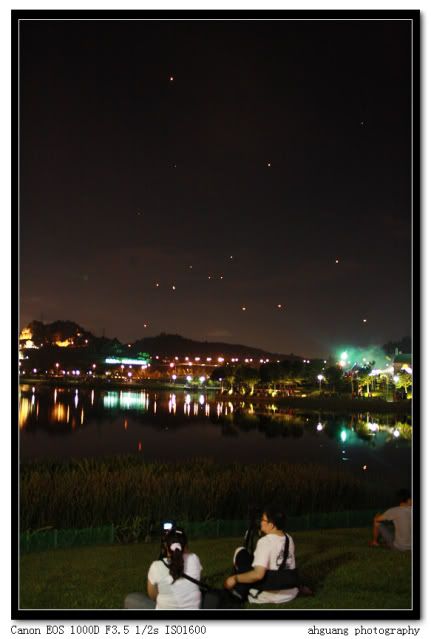
Photobucket
Sky with Kung Ming lantern.

And a kid sitting beside us during the fireworks performance. He looked so cute when he saw fireworks performance from another venue.
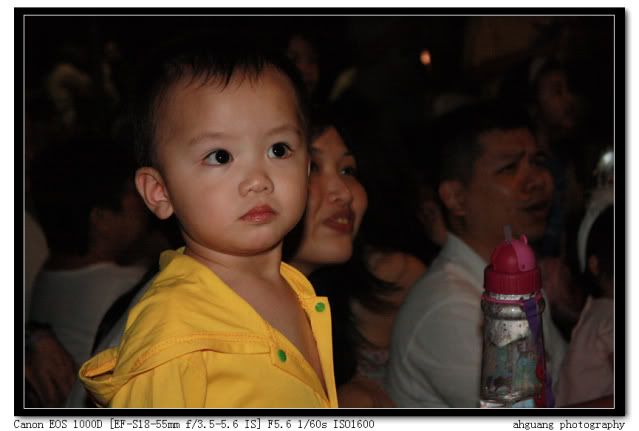
Photobucket

This belongs to one of my friends shooting at KLCC that day. I like her framing...
http://www.facebook.com/media/set/?set=a.10150493678157566.397118.649102565&type=3


Have a very happy new year ahead!!
Read more...
Friday, February 19, 2010

Event Photography

Sorry guys, its already three weeks since my last entry. Too busy(eating, celebrating and shooting) and too lazy... By the way, its Chinese New Year what, who works that hard during this period? Not me.. Haha..

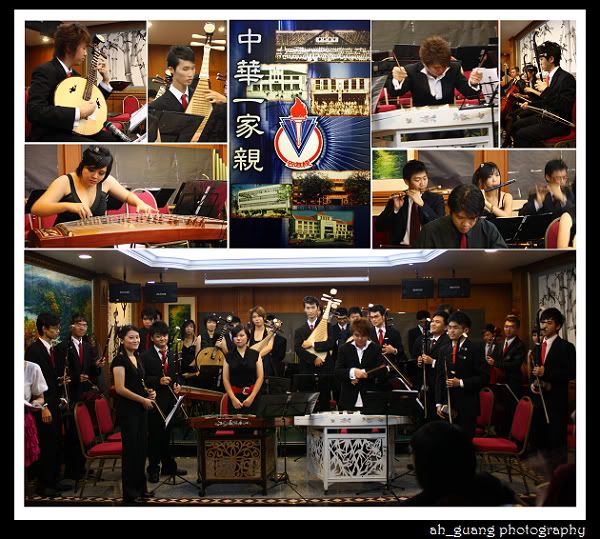
OK, for the past three weeks I have been to two events taking photo. One of them is a paid Chinese instrument symphony orchestra, while another one is Ang Pau Festival of UM 9th Residential College (just a coincidence that I am free that time and in the college). Learned some really techniques there (as I am still a beginner).

In these events, normally the light will be dim and performers are moving all the while. Some useful tips is:
  1. Push up ur ISO to an acceptable level (for me no choice, ISO1600 is the limit of my camera)
  2. Use the fastest shutter speed available
  3. Check the white balance of the stage
  4. Ask for the flow of the event to know the performances coming up
  5. Attend their rehearsal (if possible)(ask for permissions too)
  6. PRACTICE MORE!!!

For details and photo, please click 'Read More'...


Obviously, the 1st and the 2nd tips is to reduce shutter lag. In dim light situation (low light), the only way to achieve an acceptable shutter speed is to raise your ISO. During my 1st shooting, most of the photo were taken using ISO800 as I afraid that raising the ISO up to 1600 will greatly reduce the photo quality. However at the end of the day, most of the photo are blurred due to the continuous movement of the performers (of course la, they are performing what..). The quality is only acceptable, but the precious moment, timing, where the performers looked best are missed.

Either image quality or 'the moment'?
I will choose 'the moment'...

For the 1st event most of the photos are blurred. So I've only selected a few to crop into one.

Photobucket

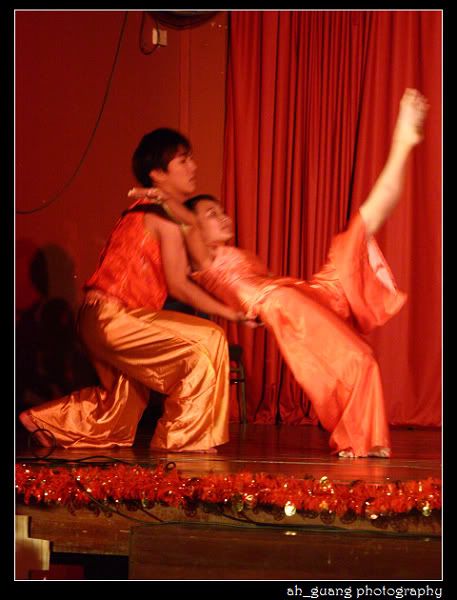
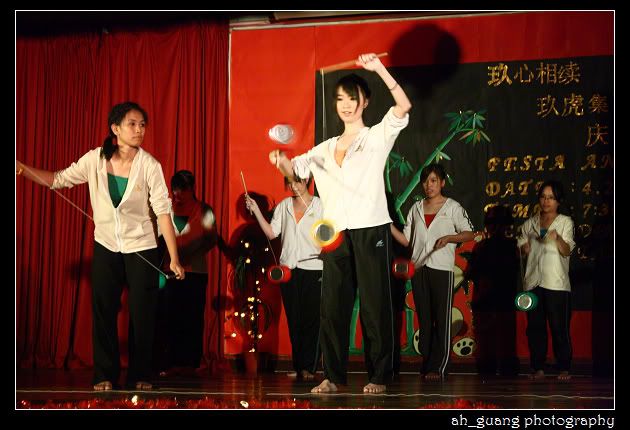
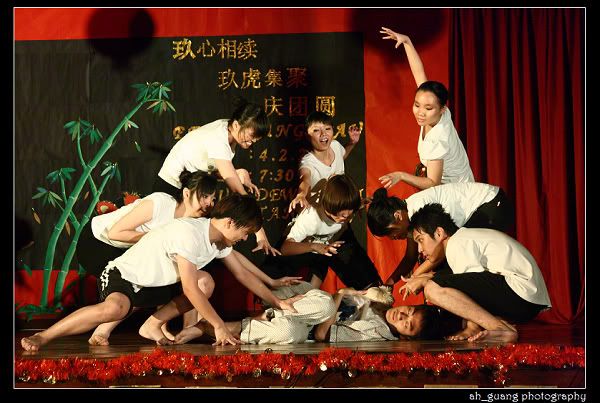
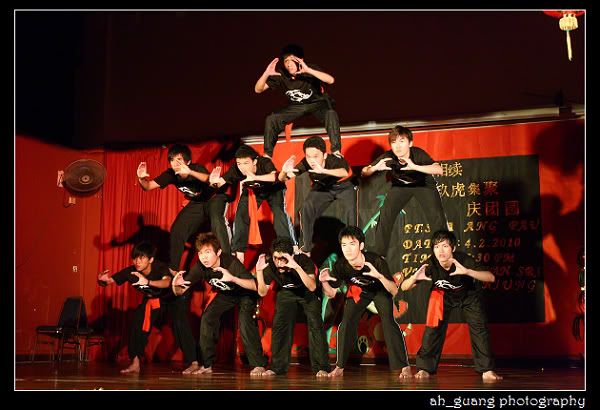
During the second event, I've choosen to use ISO1600 and this enabled me to use an average shutter speed of 1/30. Although this is still considered quite slow, but it is far better than the previous event(S.P. of 1/8). Here are some of my more favourable shots during the second event, with some sense of 'the moment'..

Photobucket
Hero saving beauty.. Blurred a bit dy..

Photobucket
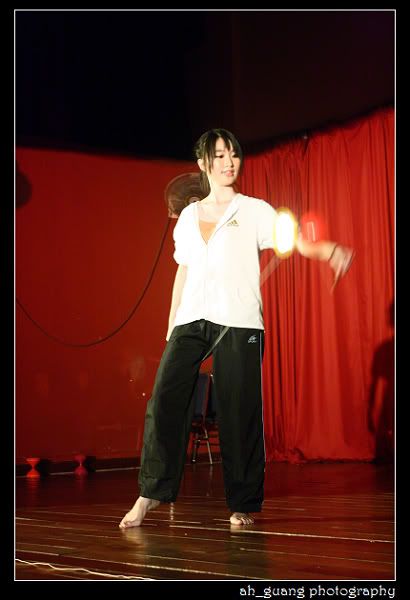
Left girl throwing a diabolo to the right girl who already holding one diabolo

Photobucket
Mosquitoes surrounding a peacefully sleeping boy..

Photobucket
Human Pyramid as if they are asking people to take photo of them...

About white balance. I have'nt mentioned this in my previous post, but this is quite important as white balancing will fix the colour bias caused by stage lightings. Most of the stage lights are comprised of several colour like green, yellow and red. When these lights beam onto the performers the original colour of the performers will be changed and become unnatural when viewed. Try comparing the two photos below:

Photobucket
The left was shot without adjusting the WB in the camera, the WB of the right is corrected using 'auto colour' function in Photoshop. Can you see the difference? The left is more reddish while the right is corrected.
WB may seems like a minute thing to take care of, but it is important thing to be noticed in achieving a good image.
A reminder here is, WB can be adjusted from the camera, or post processed using software. But the a better image quality can be obtained if adjustment is done using the camera.

The 4th and the 5th tips are quite similar. If you get to know the flow of the event, you gain an advantage which is, you get to know when is the best time to get an impressing shot of a performance. During the 2nd event I attended, one of the hardest performance to shoot is the diabolo performance. You'll never know when is the best time to press the shutter if you do not know well about the performance. The essence of a diabolo performance is when the performers throw 2-4 diabolos at a time without dropping any; or throwing up a diabolo 2-3 meters above the ground. Miss the moment, then you'll miss the shot, FOREVER. That's why knowing the performance (or best, attending their rehearsal in advance) is the best way to capture a great event photo.

Photobucket
It tooked me some while to take photo of this...

The final tips, well, I think I don't have to elaborate on that. Practice more! Hehehe...

Event photography is a very interesting part in photography. It really requires thinking and observing. Unlike portrait/macro/scenary, capturing the moment is the most important aspect. And another thing is, event photography is also one of the most money-making photography as there are always event out there waiting and employing photographers(especially wedding photographer). Practice well, and it can be an additional income for you too!

Gong Xi Fa Cai to all too!!!

more photo here:
http://www.facebook.com/album.php?aid=2052548&id=1436539115&l=ab02810383

Read more...

Saturday, January 30, 2010

Motion blur, camera shaking and out of focus

Sorry for this late post about photography knowledge. Been busy lately… Just FYI, I will be going to an event shooting this Sunday at Setapak. It’s about a musical festival, but the details I am not very sure for now. Feeling exciting about it as it’s my 1st paid shooting… Hehe…

Ok, lesson for today is blurriness in photo.

I know I know, most of u know how to take photo and u know about blurriness, if the photo is blurred, then it means something wrong and then u re-take de photo again. Then it blurred again. Then u shoot again until u get something u satisfy when u check in the little LCD screen of your camera. But then when u view it in your computer, the photo is blurred!

Why is this happening? Well, because u didn’t trouble shoot correctly. Do u know what’s wrong in the photo? And how can u improve the quality of the photo?

Other than during outing, most of the people take photos during low light situation, for example, in door party. When u’re shooting using digital compact (or even higher level camera), there r some limitation of the camera, your technique, or a combination of both. Blurriness in photo can be due to three main reasons, which is object’s motion blur, camera shaking and out of focusing.


Obviously, motion blur are referring to the motion of the object causing the blurriness in the photo. This may be due to fast movement of the object or long shutter time. In long shutter time, even the slightest movement of the object can cause an obvious blurriness in the photo. Camera shaking will also cause blurriness in a photo. It is common than human’s hand would shakes and normally when the shutter speed is longer than 1/30 we tends to shake when we r holding the camera. It also happens when we r pressing the shutter too hard.

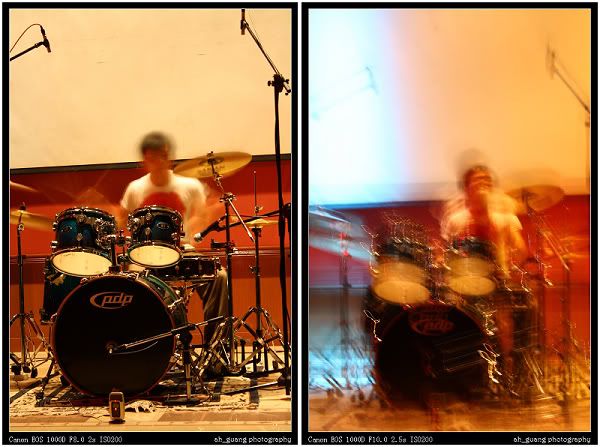
How do we differentiate motion blur and camera shaking? Look at the photo below:

Photobucket

A drummer is hitting his drum rapidly and both photos were taken under low light condition. In the left photo, the drum and other stagnant objects are clearly seen, sharp, without any blurriness but the drummer is blurred. U can’t even c his face clearly. As for the right photo, the whole photo is blurred and u can notice that the blurriness of all objects has a same direction.
Well I think u might have guessed it now, the blurriness in the left photo is motion blur, while the right is due to camera shaking.

Now we knew what caused the blurriness, how can we reduce such blurriness?

For motion blur, use a higher ISO/shorter shutter speed or simply ask the object to stop moving (if situation allows… T.T)
For camera shaking, use a higher ISO/shorter shutter speed/switch on the image stabilizer or similar function on your lens if u r using Prosumer or DSLR/hold the camera the correct way/use a tripod/lean against a stable support if without tripod/ask someone with a steady hand!
One more common tip, USE YOUR FLASH!!! Although I normally don't like the effect of using flash. It spoils de mood and ambience of the photo.

For more details, u can refer to previous entries about ISO and shutter speed.

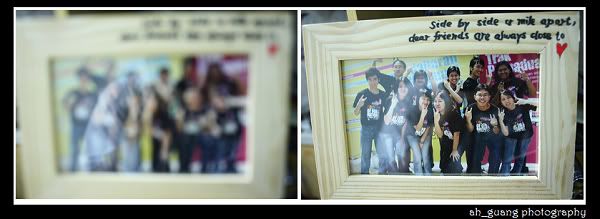
Let’s compare the next two photos and c if u can notice which kind of blurriness it is.

Photobucket

The left photo is blurred due to out of focus. Although almost all cameras have a function known as auto-focus, but in situations where the contrast between the object and background is not big (due to low light situation/complex colour/object is not outstanding compare to background) the function might not be working properly. Some users also never check the focus point of the shots or do not even let the camera having the time to focus.

For DC/Prosumer users, most models now will focus when u half press the shutter. Normally u would hear a beep/deed sound when the camera locks its focus and a box showing the focus point will appear on the screen. Check if the camera had got what u want to focus on. Release the shutter and half-press again to focus again until the focusing is correct then only fully press the shutter.
As for Prosumer/DSLR, when the camera is in auto-focus mode, the focus point focused will blink in your view finder. U can switch the focusing to the nearest focus point to guide the camera. If u are using live-preview mode, some additional controls might be required for auto-focusing and it is best to read the camera’s manual for guidance. During manual focus, a tip to achieve better focusing is the zoom to the object and adjusts the focusing. With more practice, manual focusing can be far better and faster than auto-focusing.

It is advised that u check the shot straight after u’ve taken your shots. Magnify a few times onto the object of interest and check whether the image is sharp or not. If not, re-take the shot.

Thank you for your time. I hope u learn something today and take better shots next time!

P/s: would like u all to take some time to leave comments so that I can improve my blog. Critics and suggestions are welcomed. And it would be a pleasure if u can help to answer the survey on the sidebar..


Read more...

Monday, January 11, 2010

About ISO

I am a very practical person, so all my blog entries wil oni touch lightly of the theory, but more into making ppl understand the very basic of photography. All the words/terms/jargons wil be as simple as possible in order for all to understand. (the truth is, me myself oni noes about the simple things too.. :-P)

Wat is ISO in photography?
In photography, ISO refers to the sensitivity of film/camera sensor to light. In the 'ancient' time, photographers used films of various ISO in different condition. In simple, during a sunny day film wit ISO 100 will be used while taking photo indoor needs film wit ISO 400 and above. The cumbersome of changing films in different situation has been made easier as ISO can be switched within a few touches on the camera. However in both cases, higher sensitivity (higher ISO) leads to reduced image quality. A photo taken using high ISO wil haf increase noise/film grain.

The two photos below were taken using P mode (camera decides both shutter and aperture to achieve proper exposure, the normal brightness).

Photobucket
ISO 100

Photobucket
ISO1600

Photobucket
Direct comparison of magnified area. Left: ISO 100; right: ISO 1600

Try to observe the magnified area in both photo. Photo wit ISO 1600 looks more grainy/wit more noise than ISO 100. If u observe clearly, u would see spots in the magnified ISO 1600 but it is more smooth in ISO 100. In normal cases, image quality in ISO 100 would most certainly be preferred by all (except for Lomography).

If the image quality of photo taken wit ISO 100 is better than ISO 1600, then why is ISO 1600(or high ISO) invented?
Well, u had probably noticed in the exif of the photo, ISO 100 had a slower shutter speed (1.3s) then ISO 1600 (1/15s). In low-light situation, ISO 100 requires a slower shutter speed as the light sensitivity is low. Longer shutter time leads to hand-shake(witout the use of tripod) or motion-blur. Higher ISO can be used to increase shutter speed and hence reducing hand-shake/motion-blur.

Conclusion:
low ISO>>>>slower shutter speed + high image quality
high ISO>>> faster shutter speed + lower image quality

Balance between ISO and image quality muz be achieved and tis normally depends on the requirement of photographer and the purpose of the image is taken.

Tats all for today lo! Any question?
Read more...
Related Posts with Thumbnails