Hasn't been taking photos lately, other than a few gathering photo. But I am never a gathering-photographer type of person, I usually hand-off the duty to my friends. Haha.. Still, outing to Lookout Point, Cheras did resulted into something, well at least to me. We went for dinner in a restaurant called Panoramic View, and we get to view the panoramic view of KL. Took a few photo, came back and I used Photoshop CS3 to stitched the photos into a panoramic photo.
OK, what is panoramic view?
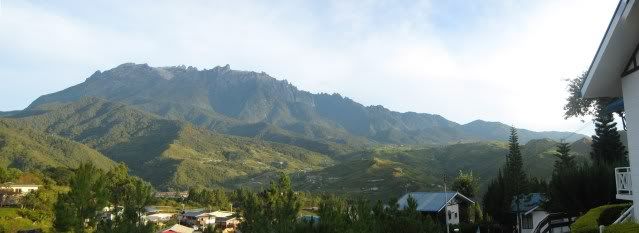
According to Wikipedia, a panorama is the wide-angle view of anything. It can be in painting, photography, drawing, and movie/video. I first encounter the word in photography. And indeed, I took my first panoramic photo a few years ago during my trip in Kota Kinabalu, Sabah. The subject I shot is Mount Kinabalu. It was taken using the family's old Canon Ixus 850IS, and i did'nt stitched the photo until lately. Here's the result from stitching three photos:
How can you take a panoramic photo?
Well, you can always buy a real panoramic camera, or you can do post-production using software like Adobe Photoshop.
For post-production, you will need to take some photo and stitch them together. For some models of Canon DC, there's already a function named 'stitch' when you are using manual mode. If there's no such function, feel no fear as ahguang is here. Tripod is very useful here as u can take multiple shots from the same height and spot, with more steadiness. The trick here is, if you are using a DSLR or prosumer, switch to 'M' mode, set the appropriate shutter and aperture for all shots. This is important to keep the exposure same. Then take a first shot, adjust your camera so that the second shot must overlap about 1/3 of the view covered in first shot, the third shot overlap about 1/3 of the second shot and so on until you covered the whole view.
Next, use your post-production software. I'd only tried Adobe PS3, so I can't comment much on the software, but its quite easy to use. Open your software, click 'File' >> 'Automate' >> 'photomerge', then select your photo, then click 'ok'. Just that easy and the software will do all the dirty work for you.
Here's the KL panoramic photo produced from the outing:
The photo is too long as it's stitched using four photos. Too bad too the most left and right side of the photo is blurred due to shaky camera when taking them. Must take better shots next time..
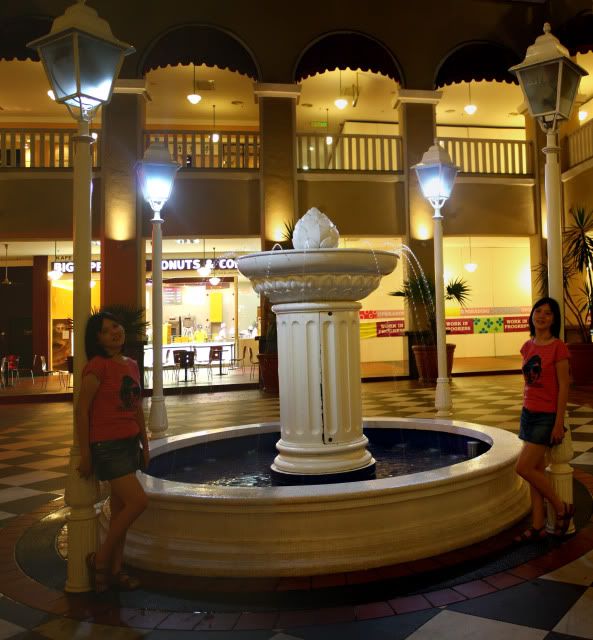
Stitching photos can also be used in some other creative situations. One of the example is as below, which is partly a failure:
I've seen some perfect portraits, examples here and here (from http://blog-blogsss.blogspot.com/) produced by stitching photos together, but mine above is surely not one of them. The exposure is different from left to right if you have noticed..
Hope you will enjoy stitching photos!
分享
12 years ago
Just left a question mark in ur previous post "Compact? Prosumer? DSLR? Wat is tat?"
ReplyDeleteYou used Photoshop CS3? What is the cost?
ReplyDeleteNice shoot.
ReplyDelete